
How I Got The Courage To Do A DIY Photo Shoot

If you’ve been following me for a while, you may recognize this as the profile image I use on all my platforms.
I've always loved taking pictures. I mean, since I was like 10 years old. You could always find me with a camera in my hand even if it was one of those throwaway ones from back in the day… So you can imagine how much fun I can have with a smartphone camera! Right now I have over 4000 pictures on my phone! No joke.
To me, photography is just another art form, and I always take pictures from that perspective. If you're a creative I bet you could too. You have to pretend you are about to create a painting, collage, or another type of composition. Then find some interesting ways to frame your subjects with your camera to form a composition visually.
In 2020, since hiring a photographer was impossible, I thought I'd try my hand at some brand photo shoots.

The first thing I did was prepare. I read some blogs about taking photo shoots, and downloaded a free shot list template. The shot list ensures you'll have everything you need while out on your photo shoot, so I highly recommend this.
I gathered everything I was going to need the night before. That included an inexpensive tripod I purchased on Amazon for $15, my iPhone, and the headphones that went with it. Did you know that the button on the iPhone in-line headphones acts as a shutter when your camera app is open? That was a helpful discovery!

I also wore an outfit in my brand colors. Wearing my brand colors would ensure that these images would look great on my website. I made sure that the outfit spoke to my personality so it would help tell my story. I drove to a nearby state park, just outside Las Vegas where I live, to be sure I would have an automatic gorgeous background that could only make my images look that much better. It couldn’t hurt, right?
When I got there, I just experimented. Not setting big expectations made it fun and relaxing. I set up my iPhone on the tripod and clicked the button (shutter) on the in-line headphones when I was ready with a pose. When I needed to take a photo that required the camera being further away from me, I got someone to click the shutter button for me.
I was actually pretty happy with the results!
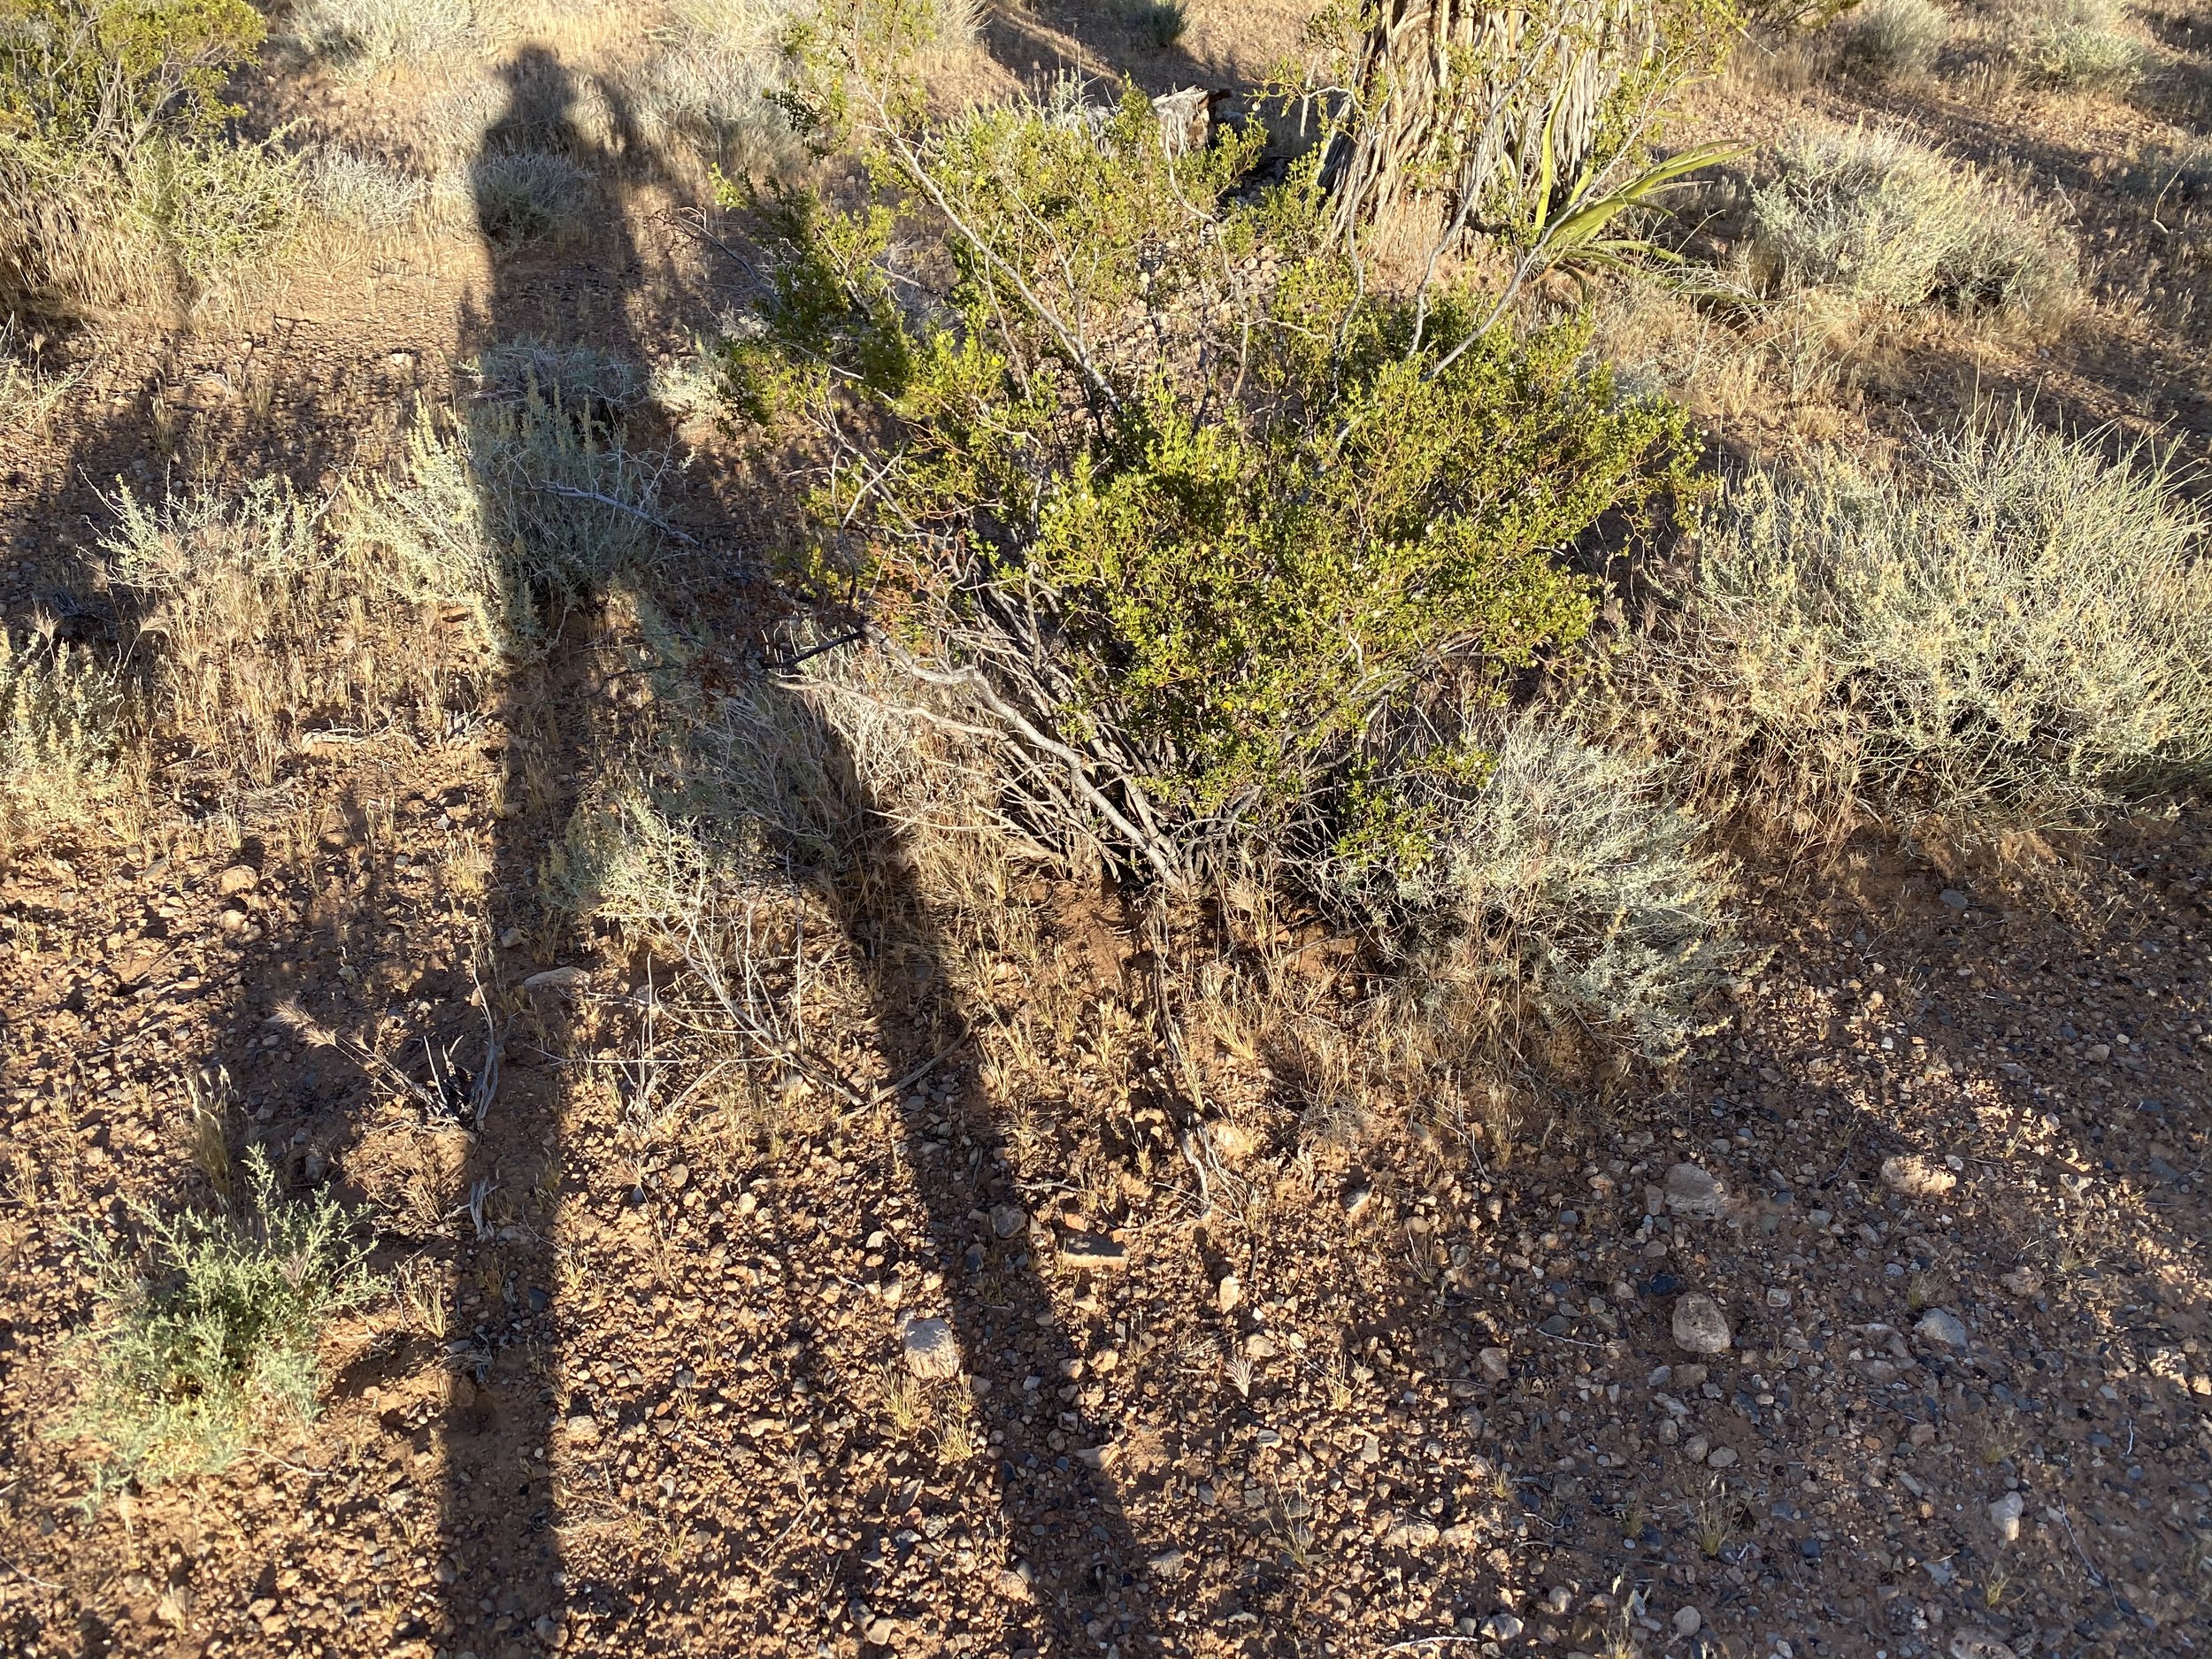
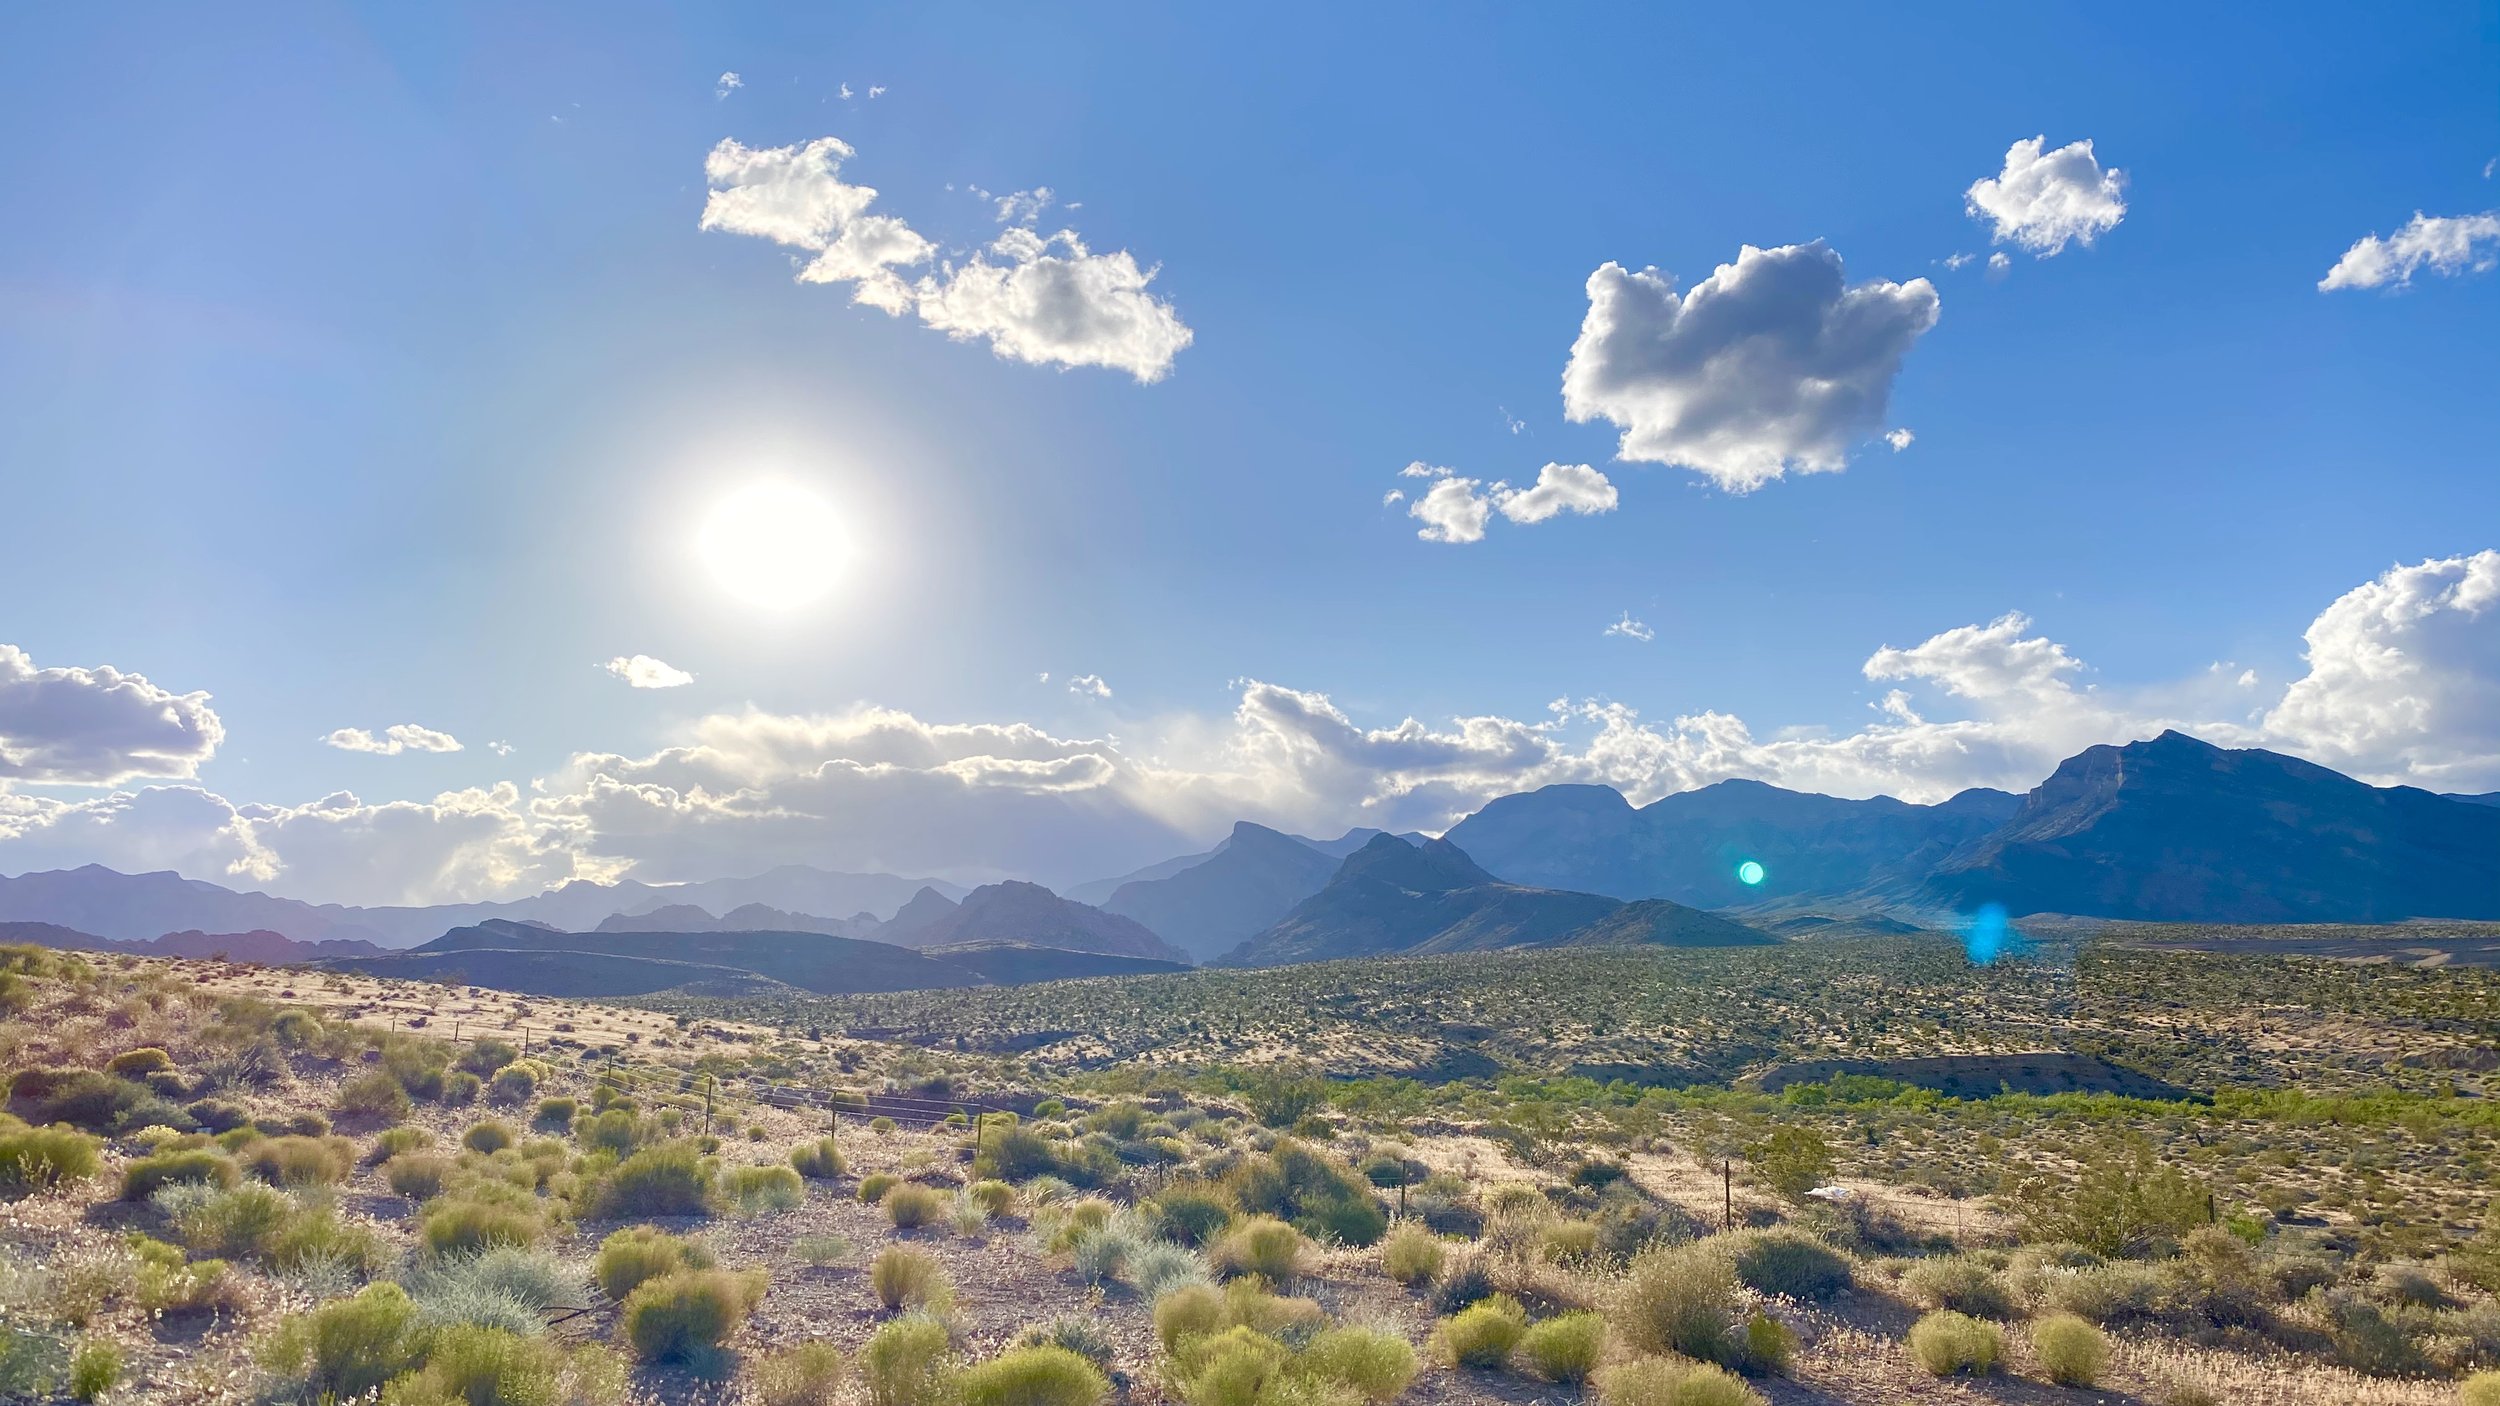
Checking the images each time I clicked allowed for me to adjust the camera position, and I just kept clicking until I was happy with a shot. I ended up with some crazy shots I never even expected. Like the landscape photo above, and the above photo of my long afternoon shadow on the desert floor.
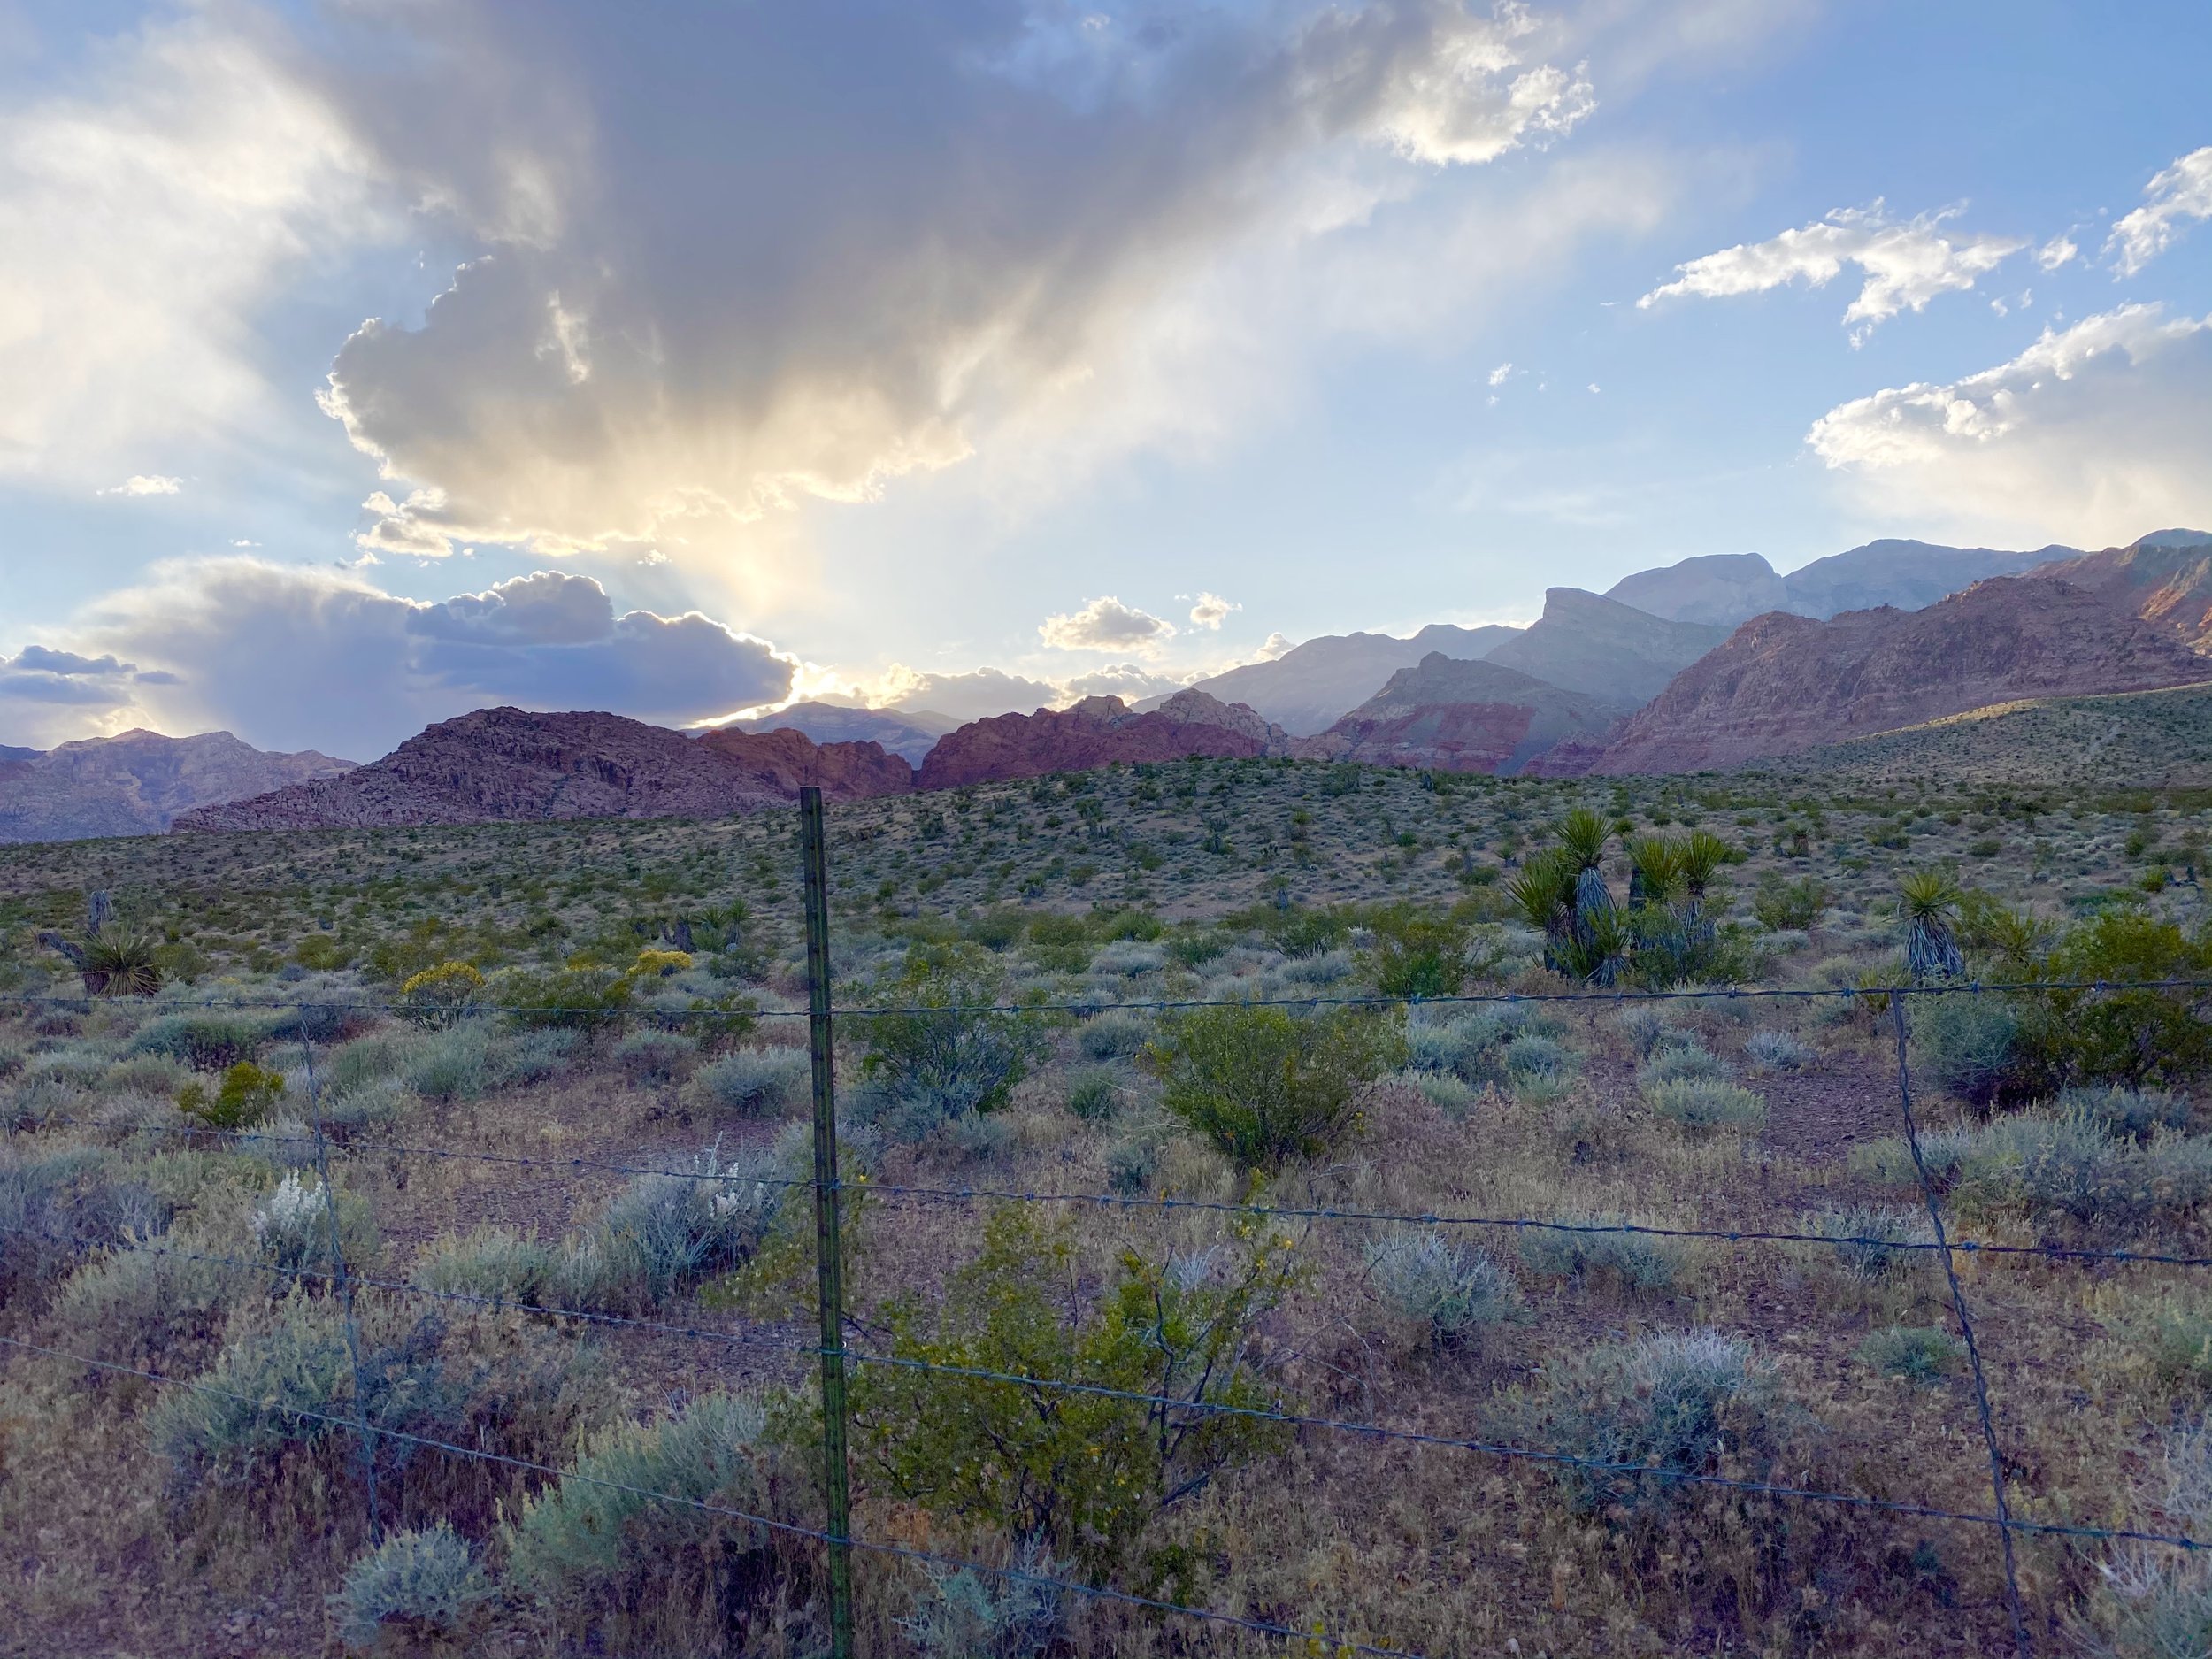
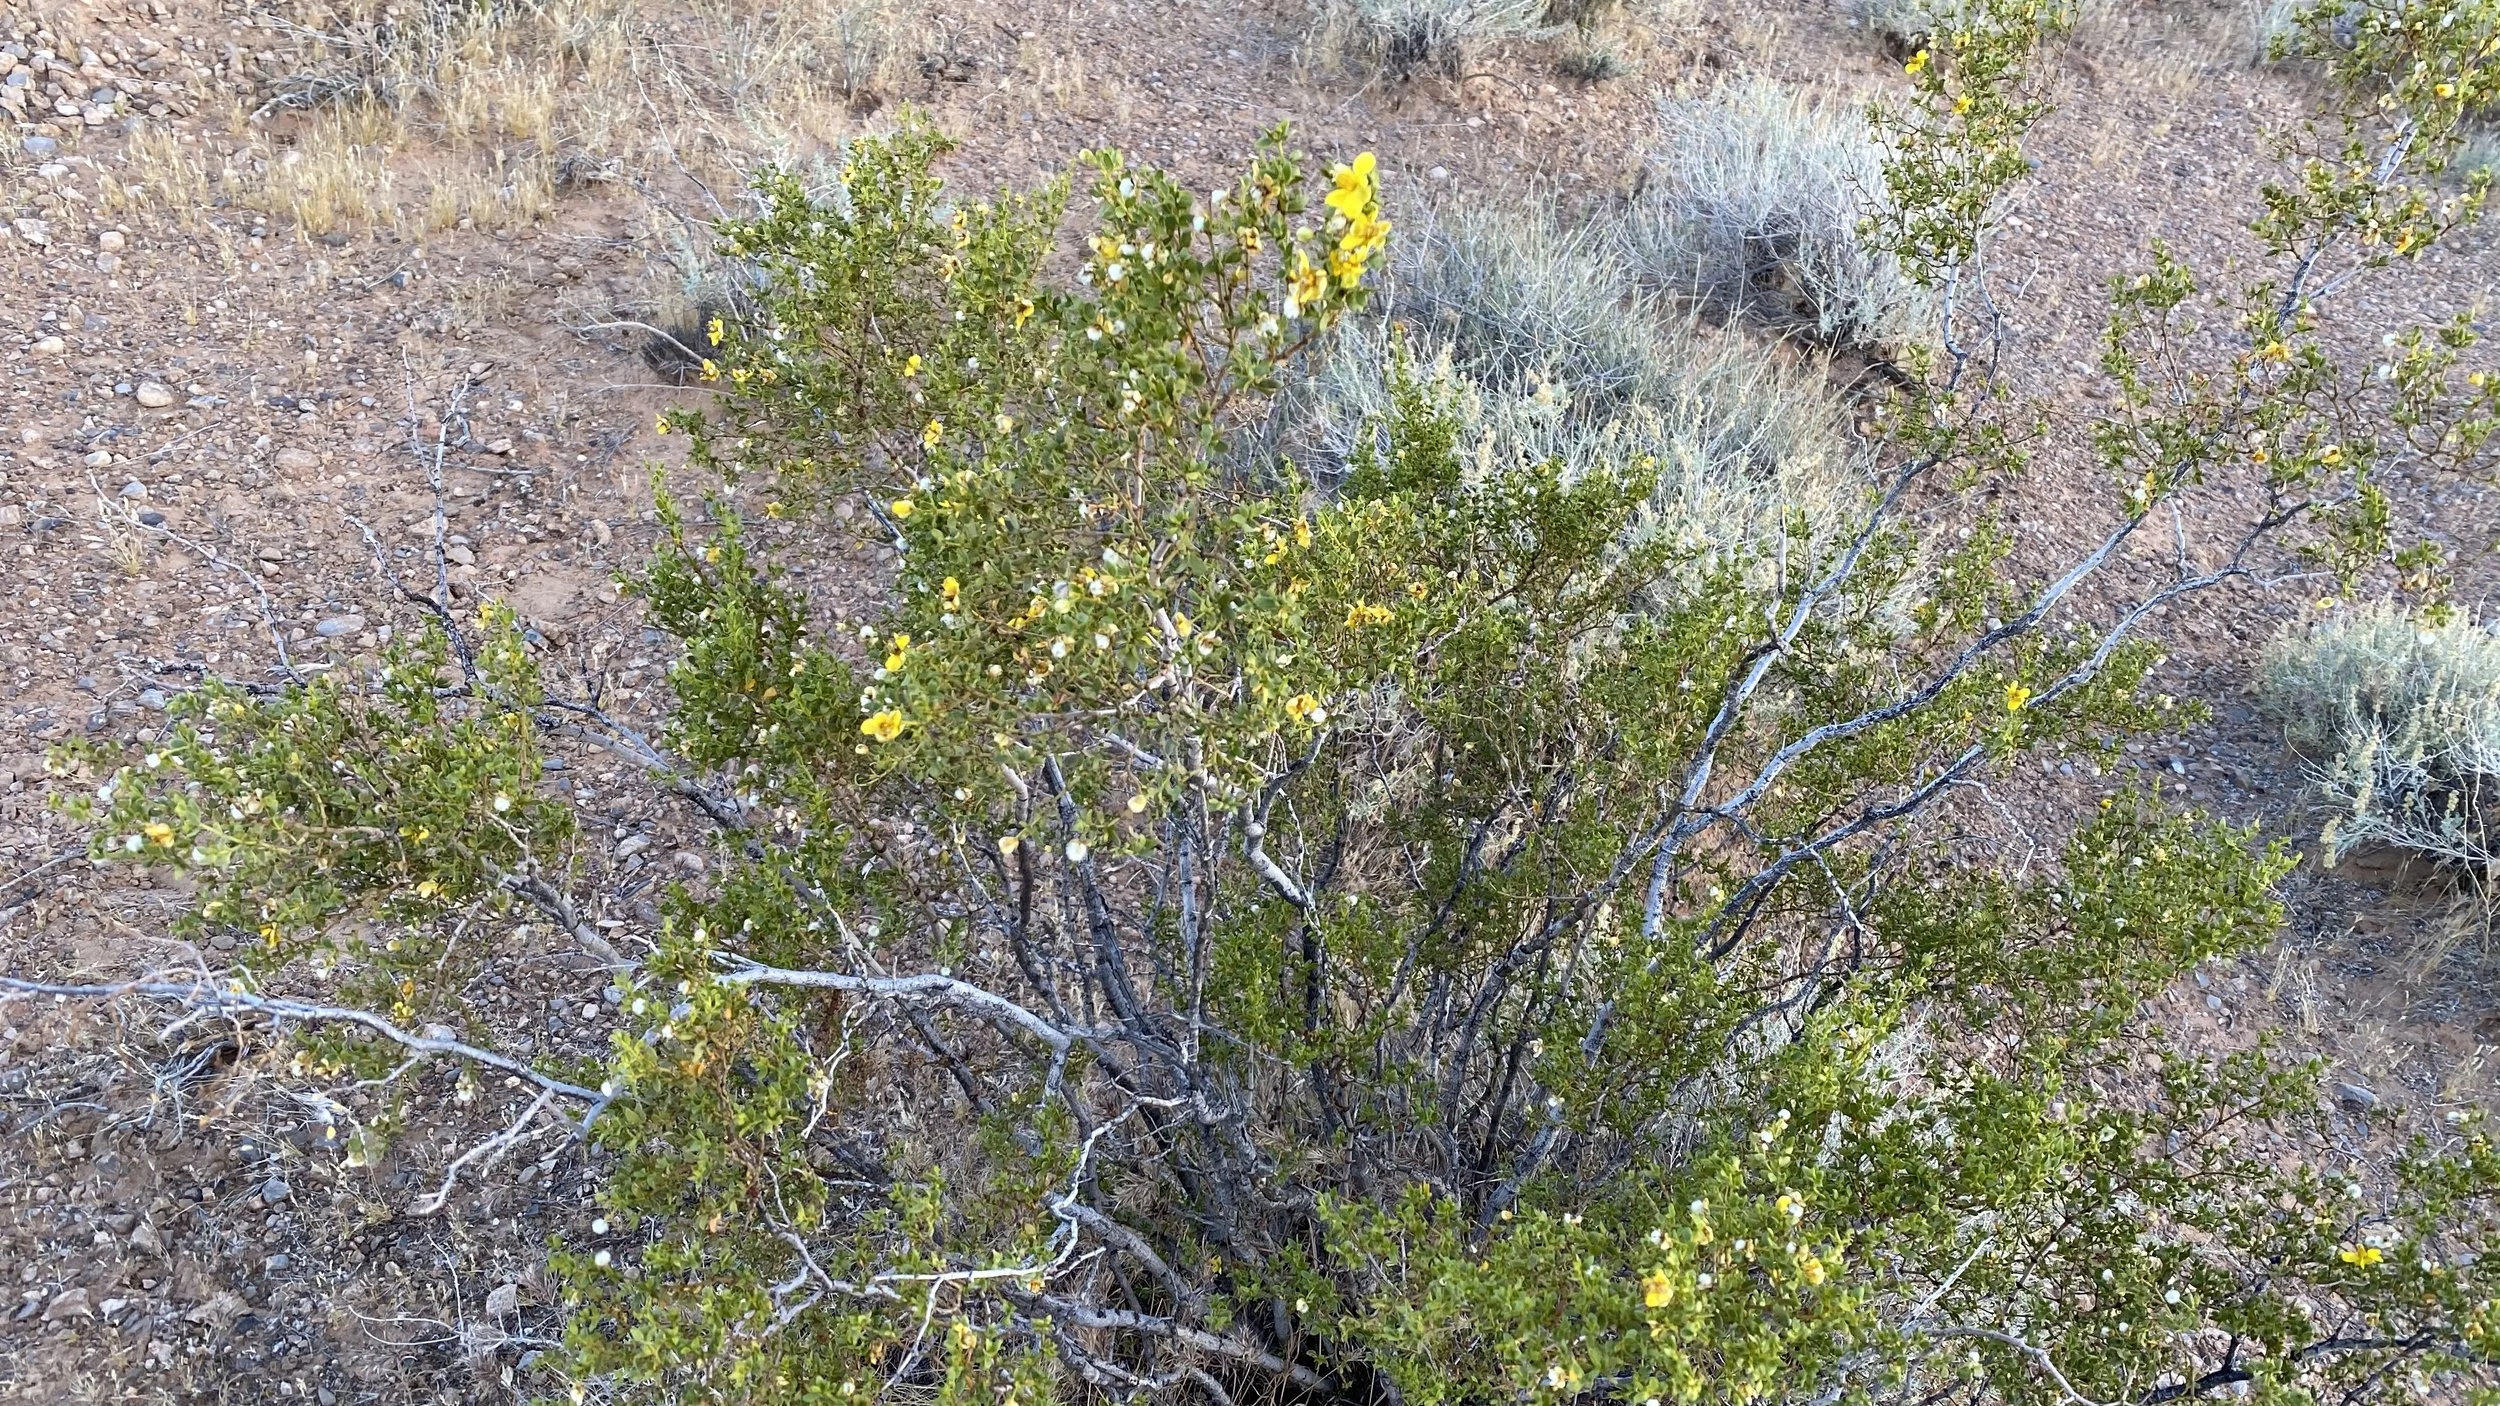
I also ended up with some beautiful nature shots that I've been able to share on my blog and social media. I found that I enjoyed photographing a variety of subject matters, which made for a good mix. I thought the clouds might be a problem, but they ended up adding more drama to the shots.
It was such a great experience that I resolved to do it again. I knew I had to continue to reserve expectation though. There’s a big difference between loving to take pictures and being a professional photographer. I had to be really patient while retaking photos, since I had to stop and look at the images after each take. I also tossed out a lot of pictures in the end, but I still ended up with enough good ones that it made it worth my while.
I have actually taken about four or five photoshoots since this one, including one just a week ago. It’s recommended to have fresh images for your website about every three to six months. I can manage every 6 months pretty comfortably. I’ll be sharing about this newest one soon.
Would you try your own photoshoot? If you do, I’d love to see it! Let me know your thoughts in the Comments below. :-)
Want my DIY Photoshoot Shot List?